TechTip: Get the BEST Smartphone Photos
Capture your summer memories with these expert smartphone photography tips and tricks!
It used to be obvious who the amateur photographer was. They could be easily spotted, sporting an expensive camera slung around their neck or to their side. The slick “click” of the shutter was constant at family gatherings, community events, or disturbing the wildlife sounds on the trail. The cameras these photographers used were expensive, rather unwieldy, and very, VERY conspicuous–good luck capturing that candid moment with your grandkid when you’re pushing a zoom lens in their face.
Now, most of us have the tools needed to become accomplished photographers. The days of the heavy, intrusive camera with rolls and rolls of film plus lenses plus caps plus flashes are over. All of that equipment and more is contained in a single sleek package. You probably have it in your pocket (or in your hand if you’re reading this online) right now.
Your smartphone’s camera, whether Apple or Android, is incredibly sophisticated and powerful. It can capture stunning images that you can look back on for decades to come. It also allows you to share those photos with various audiences quickly and easily, whether you want to post that stunning sunset over the peaks on Instagram and get thousands of likes or share your adorable nephew mutton busting at the rodeo with your mom and only your mom.
Take time to play
When we were children, we were given ample time to play. We made mud pies, drew crazy drawings with crayons, and created elaborate ball games to play with our friends. These moments of play led to adult skills: cooking, writing, and working as a team. Working with new (or new-to-you) tech uses the same principle: you have to play.
Experimenting with settings is one of the best ways to learn what you like and what you don’t. Sure, a lens flare may get points docked in a college photography class, but maybe you like the dreamy mood that flare adds to your image. That’s the fun part about playing and discovering what you like: you get to say what’s “right” and what isn’t.
Don’t shoot for the ‘perfect shot’
Take lots of photos. Lots. We cannot emphasize this tip enough. The more photos you take, the more likely you are to get that amazing image. The days of needing to conserve film are gone–with smartphones, you can take hundreds of photos without making a dent in your memory’s storage. Just remember to go through them later and delete the duds (while the photo session may not impact your phone’s memory banks, leaving everything you captured in your album will).
Use a grid
Like many other art forms, photographs that adhere to the rule of thirds often feel more compositionally sound. According to the rule, the image is split into a grid of nine equal blocks. Try to get the most interesting parts of your image near the corners where the gridlines meet. This might sound difficult, but smartphones have a built-in grid setting that you can enable from your phone’s settings or on the camera screen itself. With that on-screen grid and those tiny placement modifications, you’ll be shooting like a pro in no time!
Go for the Gold(en Hour)
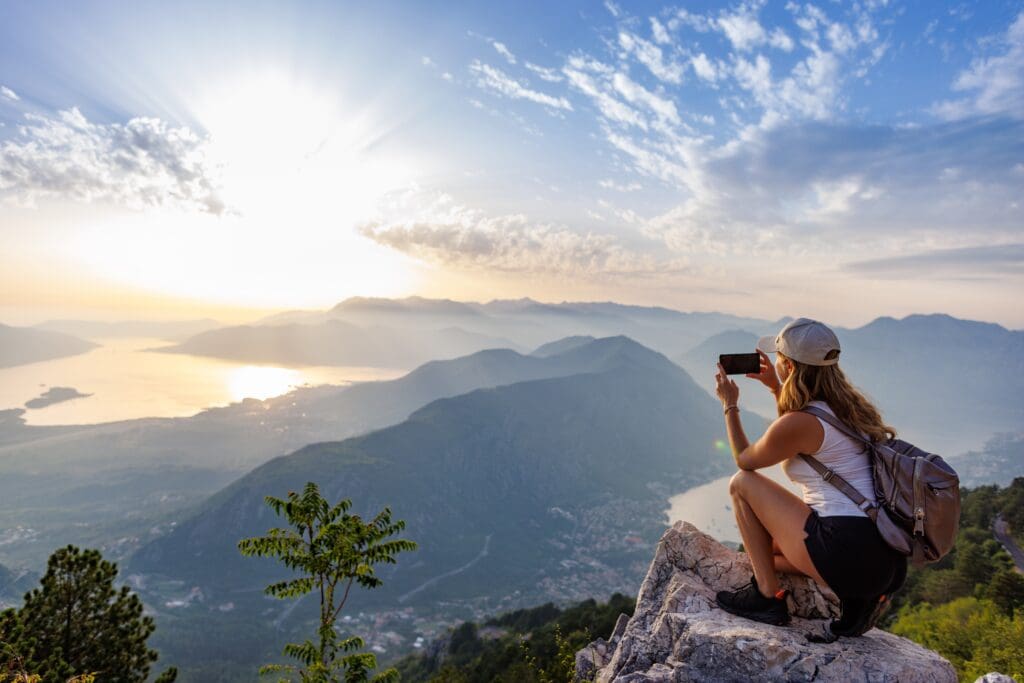
Named for the golden glow created by the sun, outdoor pictures captured during the Golden Hour (the hour before sunrise and the hour before sunset) are aesthetically drenched in color. Thanks to the red and gold tones from the light, images caught during these hours will often look and feel like a real-life Instagram filter.
Wide-Angle Wonders
Choosing the perfect part of Montana’s Big Sky to showcase in a photo can be challenging. The scenery here is all so beautiful that narrowing it down to a single phone screen. Luckily, most smartphone cameras are equipped with two modes that can help you show off that gorgeous skyline. First, remember to check out wide-angle mode. The camera shortens its focal length, which then creates a wider field of view, capturing more of the scenic outdoors. You can also try a panoramic picture. This mode helps you move your camera slowly and evenly, capturing the scene all the while. Then, it automatically stitches the photos together, creating a large, expansive view.
Capture the Night
As a general rule, natural lighting makes for the best photos, but that doesn’t mean the fun has to end when the sun goes down. Many newer models come with a built-in Night Mode to capture more detail and brighten your shots in low-light situations. But even without this handy tool, you can improve your evening shots by adjusting the exposure. Simply tap the screen and drag the exposure meter up or down to your desired brightness.
Check out HDR Mode
Set your camera to take pictures in HDR (High Dynamic Range) Mode. The mode sounds almost intimidating, but it makes taking photos with a lot of different lighting much easier. When you’ve enabled auto HDR, it’ll bring out the details in the photo while also creating a better balance of colors. HDR mode does take a few extra milliseconds, so it’s great for snapping a sandwich or a sunset but less ideal for capturing a cowboy on a bronco.


